Showing posts with label holiday. Show all posts

Jan 30, 2014

My Top 13 in 2013

So, I know I've been MIA for the last 4 months but I felt like I needed a little 2013 wrap up post. There were so many fun projects posted in 2013 and I've really been missing the blogging world lately. Hopefully 2014 will slow down enough for me to post some more of the fun projects I've been doing around here. Here are the top 13 favorite posts from 2013!


1. Anthropologie Rosette Pillow Knock-Off
This is for sure the favorite post of 2013. Thanks to all of my followers and all of the great blogs that have linked to my tutorial!


 2. Easy Homemade Crescent Rolls


 3. Shark Stuffie {Free Pattern & Tutorial}


 4. Dyed Ruffle Ombre Tablecloth


5. Creme Brulee Recipe


7. $5 Dress Up Station

8. Bathroom Makeover


9. Gold Leaf Table 

10. Crockpot Honey Curry Chciken

11. Pesto Ranch Pasta Salad

12. Valentine's Free Printable  

 I saved the two Valentine's posts for the end. I hope these come in handy this year! 2 weeks and counting until Love day!


 13. Valentine's Day Outfits


Mar 5, 2013

Dyed Ruffle Ombre Tablecloth

So, I am officially the 3rd place winner of SYTYC. It was super fun being a part of the competition but I have to say I'm a little relieved I'm not scrambling to get a project done this week. Thank you THANK you to everyone who supported me week after week. I appreciate every. single. one of you. Especially my family, they are fantastic and my number one supporters.

I had a project in mind that I wanted to do for the finals so be looking for that in the {not so} near future. Just kidding I'm hoping to get it done sooner than later. Here is my final project/tutorial for So You Think You're Crafty.


I have never ever attempted dying fabric. The thought just stressed me out. I have to say it was really fun. I love that this competition has challenged me to go outside my normal "craft" areas. I love it. I also love how this tablecloth turned out. I used the same dye for the darker and lighter ruffle but varied the time it spent in the dye bath. Now that I got my first time using dye out of the way I have added a couple more projects on my list that include more RIT dye!

Materials list:
-around 5 1/2-6 yards of white muslin
-RIT Dye I used "Petal Pink"

Start out by measuring your table. Mine was 33 x 33inches. So, I cut 1 square that was 34"x34". Set that aside. Then, cut 4 rectangles that measure 29"x33" (These are for the sides.) Hem the 3 sides of these pieces. The top will be sewn to the top piece so it doesn't need to be hemmed. 

Next cut 12 strips that are 12" by the length of your fabric. At least 64" to get a good ruffle. 


Once all of your pieces are cut, you are going to dye the fabric. I decided to leave one ruffle white on each side. Mix up your dye according to the directions. Make sure you let it dissolve all the way or you will get random dark spots...I'll show you my fail later on...


Dip 8 ruffles in the dye. I used the sink but have heard great things about the washing machine. You can choose what's right for you. The middle & lightest ruffle only stayed in the dye about 7 min and is still a little darker than I had hoped. The darkest stayed in 40. You can pull your pieces out from time to time to check on the color.


Wash them after they are finished dying and dry according to the directions on the box. My ruffles got all tangled up in the dryer so it might be easier to hem them before so the loose threads don't tangle??


It turned out fine though after I ironed the crap out of them. Ha. Here you can definitely see the spots where my dye didn't dissolve all of the way and stuck on to my fabric. No matter how much I tried to scrub the spots out it didn't go away so beware.


Next, I hemmed every single piece of fabric I cut. Even the side pieces. You do not have to sew the entire rectangle, just two sides and the bottom. 

Then, you will ruffle the top of each "ruffle piece" just like we did here. Sew the ruffle onto the side pieces. White on top, Middle will be the light pink, and Bottom will be the darkest pink. Once all of the ruffles are sewed on you will sew each side piece to your top piece and you are finished!

This tablecloth is just asking to be used at a party. I can picture the cutest  dessert table on top. Or maybe stacked with presents, or a drink station?? So, so fun. I hope you love it as much as I do!


Nov 1, 2012

Halloween 2012

Hope ya’ll had a fantastic Halloween!! We did. It was crazy busy and I’m not going to lie, by the time it was actually Halloween I was kind of burnt out. But the girls loved trick or treating, until Brynlee got traumatized by a skeleton with a motion sensor. Here are our super cool Halloween decorations this year (as you can see I’m kind of a party pooper when it comes to this holiday…) Bring on November!!

IMG_8173

Find out how I made this witch silhouette here.

IMG_8175IMG_8178

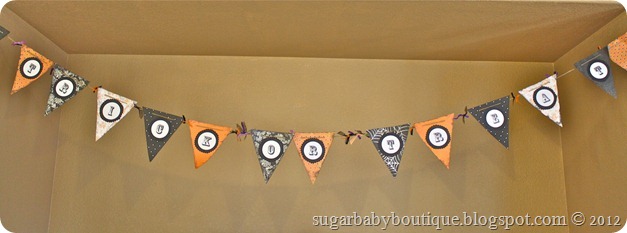
I made this banner 2 years ago and still love it! I believe I got the idea/printable letters from The Crafting Chicks.

IMG_8180IMG_8184IMG_8185IMG_8191IMG_8195IMG_8199IMG_8221IMG_8203

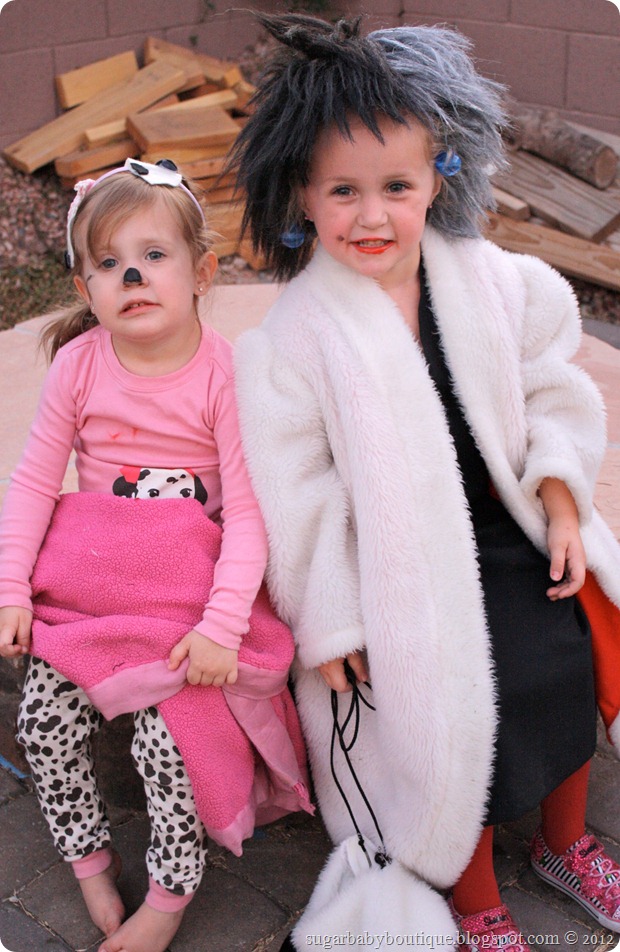
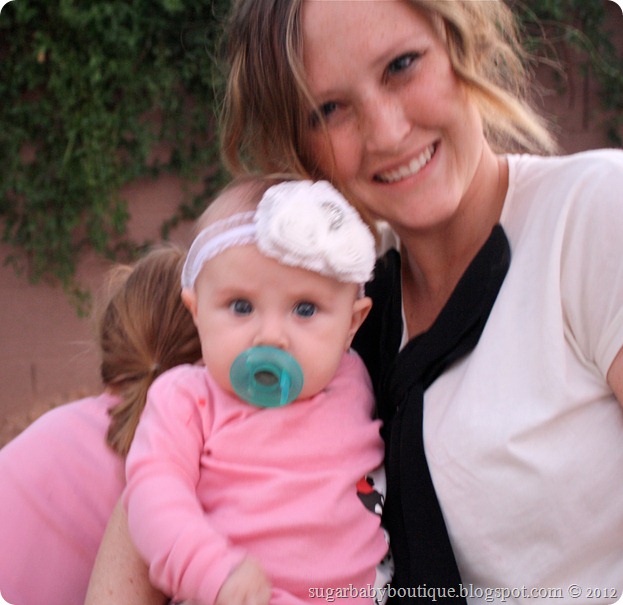
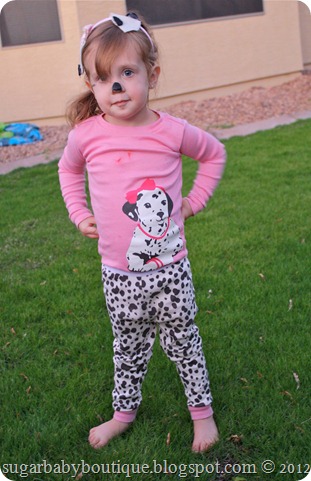
Brynlee decided last year she wanted to be Cruella de ville for Halloween and has been excited ever since to dress up! For some reason Brynlee always loves the villain in all of the Disney movies but Cruella is her favorite of them all. She is hilarious and has the perfect feisty attitude to go with her costume. My talented mother-in-law made the adorable costume. The wig was a little skewed in all these pictures…Of course I didn’t notice that until 2 seconds ago…And since I’m a slacker mom I just bought the Dalmatian jammies from Gap. And now that all of the Halloween madness has died down I hope to catch up on life again.

Oh! And here is my version of Classy Clutter’s Halloween Wreath :)

IMG_7958

Sep 28, 2012

Friday Faves {Halloween}

So I have been a complete slacker in the blogging department. I have honestly just been enjoying my family for the last couple weeks and it’s been nice. Now, I’m hoping to catch up on cleaning, blogging, and decorating for Halloween! I’m going to be honest, I have never been a huge fan of Halloween. Don’t hate me. Now that I have kids though it’s been fun to decorate for every holiday and I’m hoping to add a couple Halloween decorations this year! Here are some of my faves that I’ve found around blogland lately…
1. Candy Corn Garland. I actually made this last night! So easy and free. You really can’t beat that. Plus it’s super cute.

2. Halloween Party Placecards. IF I were to have a Halloween party I would totally use these for placecards. So cute & easy.
3.And I’m pretty sure this is the cutest Halloween party I have ever seen. I need to steal some of these ideas asap for my décor.
4.This Halloween banner is darling. Too bad I already have two…Maybe I can find another spot for one. One can’t have too many banners right??
DSC_7496
5. I really love this wreath. But I just made another Halloween wreath. I have a problem with wreaths and banners. Too many to count.

6. I am sure you’ve heard of my friends over at Classy Clutter. They are pretty much famous. But they have a couple super cute Halloween wreaths over there. I just made my version of one that I’ll share soon and I love it! Also I just saw their super cute sign they just made that I adore. AND they’re giving one away! Go check out all of their fun Halloween ideas :)

Happy Friday everyone! Have a fantastic weekend!
**Follow my Halloween Pinterest Board Here :)**

Mar 27, 2012

Spring has arrived..

It’s officially Spring and I’m loving it. I’m dying to get out into the nice sunny weather. While I can just dream of going outside, I have been looking at some fun Spring décor to bring indoors. Here are some of the jewels I found. I’m loving the wreaths and think I need a new wreath this season. Now, to convince the husband to go to the craft store for me Winking smile 

via

spring wreath

holiday wreath

via

via


Annnnd I thought I should include some pics from my last year’s Spring décor. I’m thinking it needs some sprucing up. We’ll see what I can figure out! I hope you' all are enjoying your Spring so far!

Find the banner tutorial HERE


Found HERE

Found HERE

Tutorial found HERE

Mar 14, 2012

Easy Peasy St. Patty’s Day Necklace

st pattys necklace

st pattys necklace2

Since my girls have zero green in their wardrobe I decided to make a little accessory for St. Patty’s Day this year. I couldn’t decide between a clip or a necklace, so I made it both. I added a clip on the back so we can attach it to a head band or simply just clip it in Miss B’s hair. However, I like it strung on lace the best. I’ve been making little fabric flowers like crazy around here since it’s super easy to do in bed. My husband loves finding fabric scraps wrapped up in our blanket ;) Hope everyone has a fun St. Patricks Day this year! Maybe you can make your own little necklace so you don’t get pinched!