Mar 19, 2013

Dang Darling Spring Boutique

Hey everybody! We've been busy getting ready for the Dang Darling Spring Boutique this weekend and we are SO so excited!! If you are local, plan on stopping by for an hour or two on Saturday. There are a TON of fun vendors and we will be there. So come stop by our booth!

Saturday March 23rd from 10am - 6pm
16835 S GreenfieldGilbert, Arizona 85295


Mar 16, 2013

Free Paint Saturday!

Guys. I love free stuff. One of my very favorite things to get for free though, is paint! It makes DIY free and I love that. So, do yourself a favor and head over to Ace Hardware today to get a free quart! Then, finish that project you've been waiting to do. I did this last Saturday and it was fantastic. They had popcorn for the kiddos to munch on and I got paint for a project that's been sitting in the garage for the last month and a half. Win win! Just thought I'd give you all a heads up before I go get some more :) Go to the website to print off the coupon and you're good to go! Happy Saturday everybody!


Mar 15, 2013

Friday Faves {Easter Roundup}

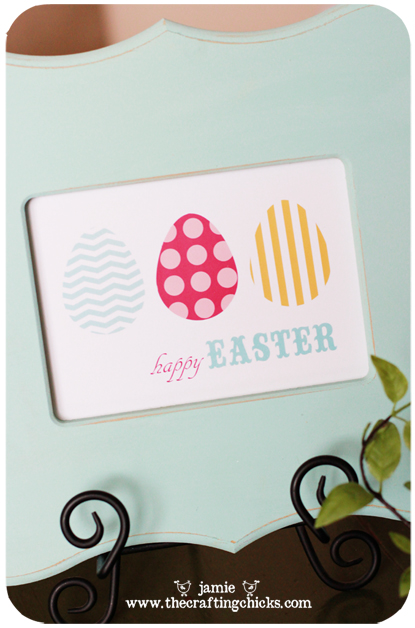
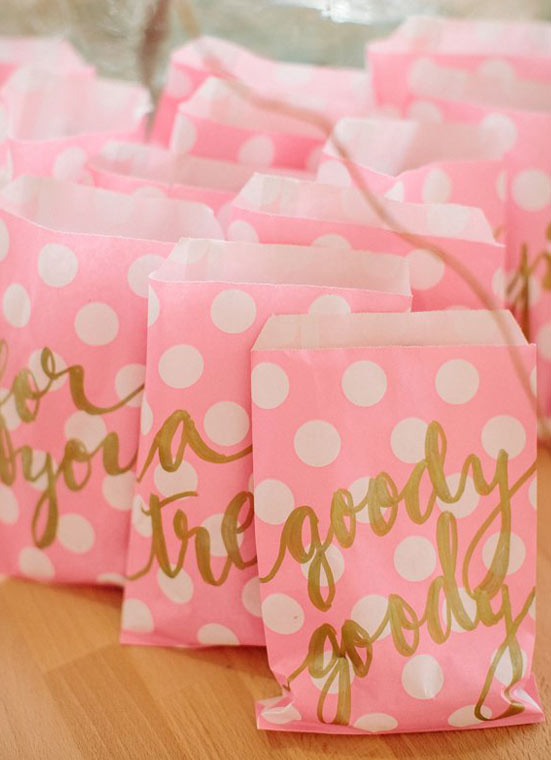
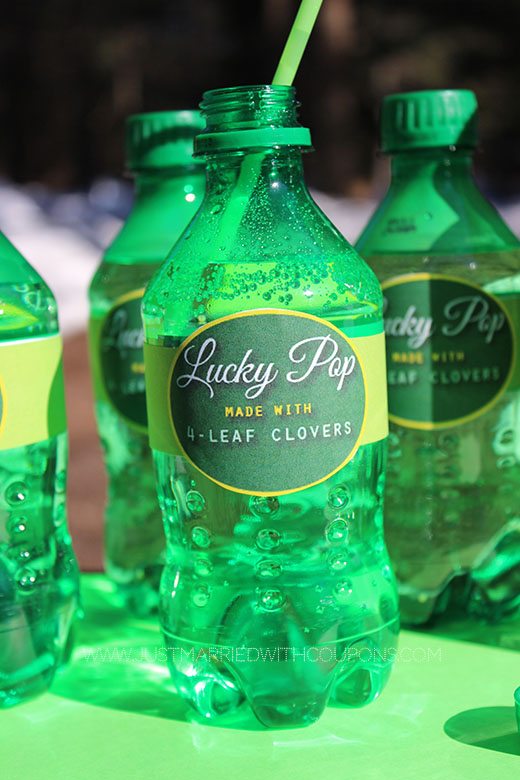
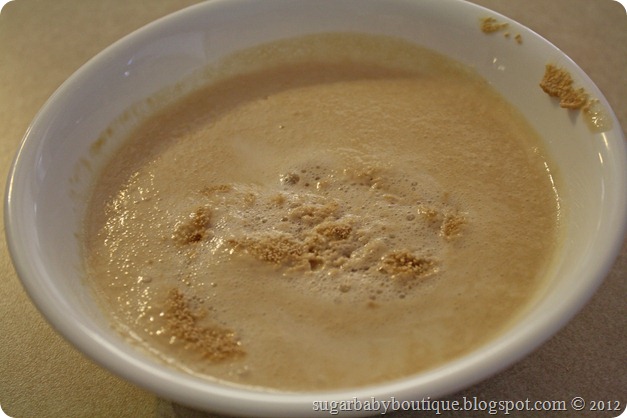
Hey everyone! Remember this post last year? I didn't end up making any of them. But, I still adore them all and hope to make a couple for the girls this year...Here are my current Easter favorites.

1.This free printable is beyond cute. I love it.

2. These would make for some pretty fabulous {and easy!} Easter centerpieces. 

3. These were for Valentine's Day but I feel like you could make them up in all pastel colors and they would be simple and cute for Easter treats! BTW this entire gold and pink party is to die for.


4. These tags are so simple and pretty and free!
5. This little board is adorable. Somebody make it for me! ;)


Mar 5, 2013

Dyed Ruffle Ombre Tablecloth

So, I am officially the 3rd place winner of SYTYC. It was super fun being a part of the competition but I have to say I'm a little relieved I'm not scrambling to get a project done this week. Thank you THANK you to everyone who supported me week after week. I appreciate every. single. one of you. Especially my family, they are fantastic and my number one supporters.

I had a project in mind that I wanted to do for the finals so be looking for that in the {not so} near future. Just kidding I'm hoping to get it done sooner than later. Here is my final project/tutorial for So You Think You're Crafty.


I have never ever attempted dying fabric. The thought just stressed me out. I have to say it was really fun. I love that this competition has challenged me to go outside my normal "craft" areas. I love it. I also love how this tablecloth turned out. I used the same dye for the darker and lighter ruffle but varied the time it spent in the dye bath. Now that I got my first time using dye out of the way I have added a couple more projects on my list that include more RIT dye!

Materials list:
-around 5 1/2-6 yards of white muslin
-RIT Dye I used "Petal Pink"

Start out by measuring your table. Mine was 33 x 33inches. So, I cut 1 square that was 34"x34". Set that aside. Then, cut 4 rectangles that measure 29"x33" (These are for the sides.) Hem the 3 sides of these pieces. The top will be sewn to the top piece so it doesn't need to be hemmed. 

Next cut 12 strips that are 12" by the length of your fabric. At least 64" to get a good ruffle. 


Once all of your pieces are cut, you are going to dye the fabric. I decided to leave one ruffle white on each side. Mix up your dye according to the directions. Make sure you let it dissolve all the way or you will get random dark spots...I'll show you my fail later on...


Dip 8 ruffles in the dye. I used the sink but have heard great things about the washing machine. You can choose what's right for you. The middle & lightest ruffle only stayed in the dye about 7 min and is still a little darker than I had hoped. The darkest stayed in 40. You can pull your pieces out from time to time to check on the color.


Wash them after they are finished dying and dry according to the directions on the box. My ruffles got all tangled up in the dryer so it might be easier to hem them before so the loose threads don't tangle??


It turned out fine though after I ironed the crap out of them. Ha. Here you can definitely see the spots where my dye didn't dissolve all of the way and stuck on to my fabric. No matter how much I tried to scrub the spots out it didn't go away so beware.


Next, I hemmed every single piece of fabric I cut. Even the side pieces. You do not have to sew the entire rectangle, just two sides and the bottom. 

Then, you will ruffle the top of each "ruffle piece" just like we did here. Sew the ruffle onto the side pieces. White on top, Middle will be the light pink, and Bottom will be the darkest pink. Once all of the ruffles are sewed on you will sew each side piece to your top piece and you are finished!

This tablecloth is just asking to be used at a party. I can picture the cutest  dessert table on top. Or maybe stacked with presents, or a drink station?? So, so fun. I hope you love it as much as I do!


Mar 1, 2013

Friday Faves {St Patrick's Day}

Alright, I guess it's time to start thinking about St. Patricks day.. Here are a few of my favorite ideas...

1. How Does She has a cute printable. I love the gold scallop behind it. cute.


2. Remember this necklace from last year? Still a fave of mine...


3. I think these little treats are adorable. I feel like we need to make these for my daughters friends this year...


4. I'm loving these printables. Perfect for a St. Patty's Day party. Go to her site to get the free download!

5. This is another little treat my girl's would love. Maybe for part of a little scavenger hunt with the rainbow treats at the end? We'll all be shocked if this actually happens in my house right??


Feb 27, 2013

Elegant Bathroom Makeover

Guys, I made it into the final 3 in SYTYC! Woohoo! Thanks to everyone for the votes. You guys are fantastic and I really really appreciate the support.

I love how last week's challenge turned out. I have hated my bathroom for the last 5 years. Let's just pretend it was the first owners who painted the bathroom that color. And let's also pretend my Mom didn't warn me that I would hate it and that it would turn the bathroom into a deep dark hole of a room mmmkay?? I've regretted painting it ever since and finally got the gumption to paint it back. My husband thought I was crazy going with white and told me it would take forever but lo and behold it didn't! I used Behr Paint & Primer in one and it seriously worked wonders! I covered that dark dark paint in only 2 and a half coats. Then I had the wonderful idea to paint my cabinets blue. Love. Them. I painted them my very favorite color, sanded the edges and used my all-time favorite glaze to finish it off. Then we hung my thrifted mirror up and I was one happy girl. It looks so big now {even though it truly is tiny} All I need is a fun light fixture/chandelier and it would be complete. I love my new elegant bathroom SO much compared to the black hole it was! Hope you like it too :)


My favorite part about this makeover was it was inexpensive, relatively easy, and quick! It was completely finished in about 6 hours. I had to break it up over 2 days while my little lovelies were sleeping :) And here's the breakdown...

-Behr Powdered Snow white paint...$32
-Thrifted mirror.................................$30
-Towels {Target. LOVE}.................free (I used Shopkicks for these)
-Rug {Anthropologie}......................$20
-Cabinets Blue Custom Mix..............free

Grand Total: Under $100!! And it makes a world of difference in our home! 

Feb 22, 2013

Apartments.com

This is a Sponsored post written by me on behalf of apartments.com for SocialSpark. All opinions are 100% mine.

 photo Apts_PrfctFit_rgbjpg_zpsf00a594a.jpg

When Kyle and I were first married, looking for apartments was a drag.  I hated it. Going from place to place, they all seemed to blend together. I knew we couldn't decorate it so it wasn't very exciting for me. I also got overwhelmed with all of the different options. apartments.com helps you narrow down exactly what you want easily. I went on apartments.com just for fun and I didn't realize they have houses for rent listed as well! It was pretty cool. I searched around our area to see what was listed. It was interesting to see what the apartments & houses were listed at. We also have talked about renting our house out and it was helpful to get comparisons in our area. It seriously took seconds to pull up my area and what was available around us. They also have an app you can put on your phone, ipad or tablet, which would make it even easier if I was actively looking for somewhere to move. Fantastic! All you do is type in your zipcode and it brings up a ton of options for you to choose from. There were plenty of houses & apartments for me to look through and had great information on each.

If you're looking for somewhere to rent in the near future I would definitely reccomend apartments.com to make it a little bit easier on yourself!

Also, if you want updates and info fast on apartments.com you can follow them on Titter @apstcom!

Visit Sponsor's Site

Feb 21, 2013

Easy Homemade Crescent Rolls

These rolls are divine. And they are easy. Could it get any better than that?? They are a process, like all bread but I swear there is no way to mess these up.
roll1
Dissolve yeast in 1 c almost hot water, sprinkle with 1 T sugar. roll16
Slightly melt 1 cube butter. (I usually do about 20 sec. in microwave.)
roll15
Combine with sugar, eggs, & saltroll13roll14roll12
Add yeast mixture after it has risen and is all frothy, like so…

roll11
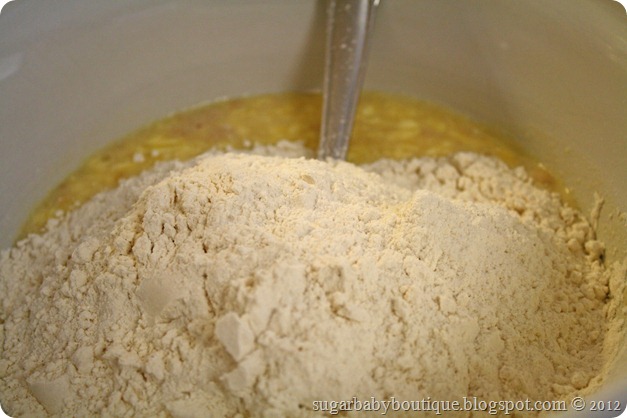
Stir, and dump in 4 cups flour.
roll10
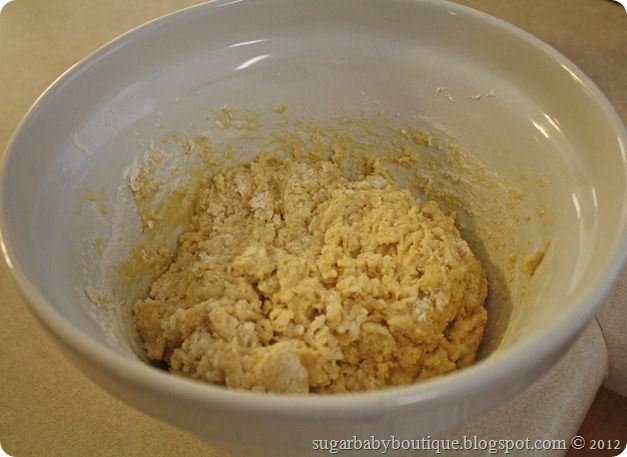
Mix thoroughly with a fork, cover, and let rise…
roll9
until doubled. Then, cut in half. Roll each portion out into a circle on a floured surface.roll8
Spread your circle with butter roll7
Cut into 16 wedges.
roll5
Roll each wedge into a crescent shaped roll.
roll6
Lay out your rolls onto baking sheets, cover and let rise (about 1hour and a half) Bake at 375 degrees for 8-10 min.
roll4
roll3
ENJOY!!
roll2
-1 T yeast (or 1 pkg no
t quick rising)
-1 cup almost hot water
-1 Tbs sugar
-1/2 tsp salt
-1 cube margarine or butter
-4 c flour
-1/2 c sugar
-2 beaten eggs
Dissolve yeast in 1 c almost hot water (110 degrees) Sprinkle with 1 T sugar. Slightly melt butter (20 sec) Combine with sugar, eggs, & salt. Add yeast mixture after it has risen & is all frothy. Then, stir & dump in 4 c flour (yellow pkg better for bread flour). Mix thoroughly with a fork, let rise (while covered with a paper towel) until doubled. Divide in half & roll into a circle. Spread with soft margarine, cut into 8 wedges, then cut each of those in half (16 in all). Roll into crescent shapes (roll wedge side first). Lay out on baking sheet with rolled end down, covered again with paper towels. Raise again about 1 ½ hrs. Bake at 375 for 8-10 min.


Feb 18, 2013

Valentine's Outfits

Here is my project from last week. Thanks everyone for your votes I truly appreciate the support. I had so much fun with this project and glad you guys liked it too :)

The first thing I thought of for "Red" was "VALENTINE's OUTFITS!!" So excited. I've been wanting to make some cute love day outfits and this was my shot. I pulled out my cute striped jersey and made a little pattern for some cardigans. I thought it would be cute to add some fun heart patches on the elbows. Originally I was going to use some plain red jersey, but, I found some cute red polka dot socks in my fabric stash and knew they were meant to be the hearts :) I hand sewed them on using a blanket stitch. When I finished the cardigans, I felt like we needed more. So, I pulled out some red stretch lace and used it as an overlay on my plain red jersey I had bought for the hearts. It was PERFECT for a Valentine's day midi skirt. Top it off with a fun headband and my girlies are set for the big day.