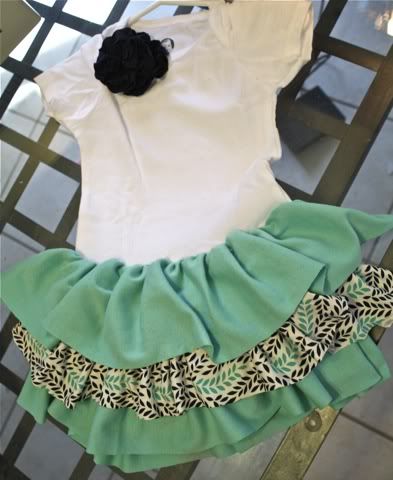
We've had a lot of cute babies being born the last couple months, so I've had the chance to make a lot of fun presents for them :) Here is another little gift, that isn't expensive and is very easy to make. So maybe I'm such procrastinator that half the time I remember the shower the morning of. And maybe I make presents up until the minute before I leave...I'm not the only one right?? Anyways here is a little outfit that will look adorable on any baby, including my own (Why do I always make other kids cute stuff while my own children look a little like orphans?? Sad. My next tutorial will be a little something I made for my own child. Mark my words. Or don't.)
1. Start out by buying a plain onesie, and some cute fabric. I chose jersey knit because it's super comfy for those newborns. This tutorial is for 18 month onesies, so measure accordingly.Cut your jersey strips 5-5.5 inches by 4 times the width of your onesie. You want to make sure that once you ruffle the fabric, it will be long enough to wrap all the way around.
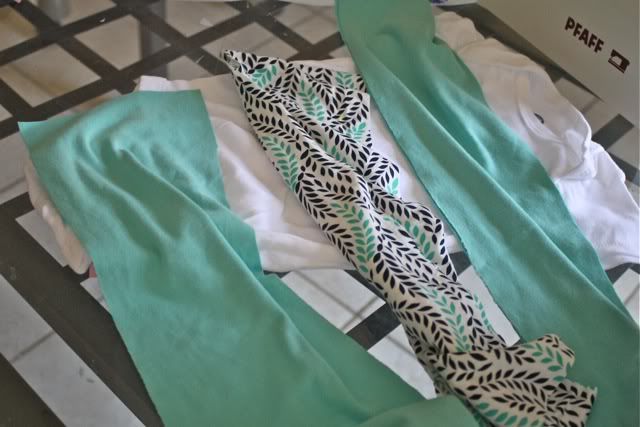
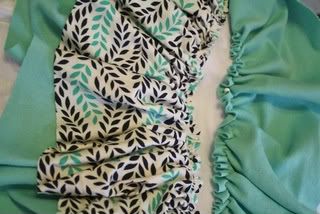
2.Ruffle your strips of jersey by setting your machine on the highest length of stitch possible. Mine is a 6. I also adjusted the tension and my jersey ruffled up nicely by itself.
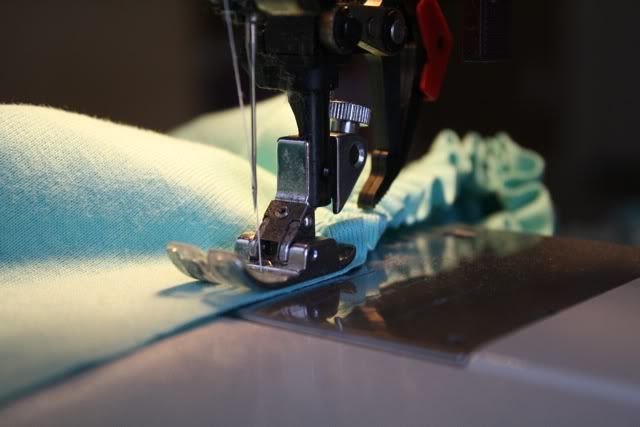
3. Once your strips are ruffled, check to make sure they are the right length. Then, sew it, right sides together. Now you should have a ruffled tube of fabric.
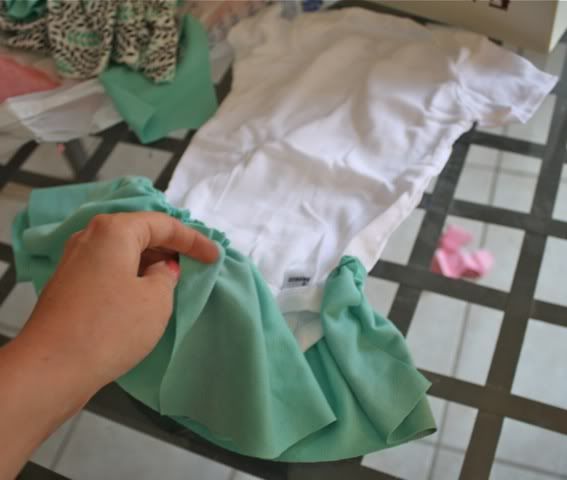
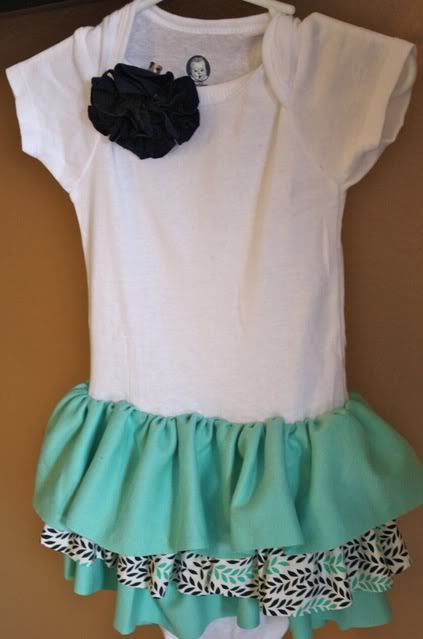
4. Pin your ruffles down onto the onesie where you want them placed. *Tip: I like the ruffles to dip a little lower in the back to accomadate for the diapers...And cute little buns :)
5.Sew your ruffles on with a zig-zag stitch, and pair it with a matching bow and Taggie Blanket and you have the perfect little shower gift!
Pages
▼
Jul 11, 2011
Jul 9, 2011
Taggie Blanket Tutorial
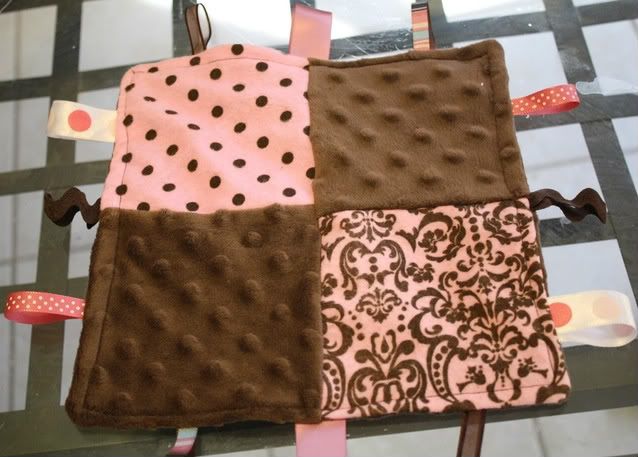
Hey all! I've been making these little blankets for all my friends having babies lately and have had a lot of people ask how to make them. So, here we go! (Let's just keep pretending that these aren't the easiest things in the world to make mmmkay??)
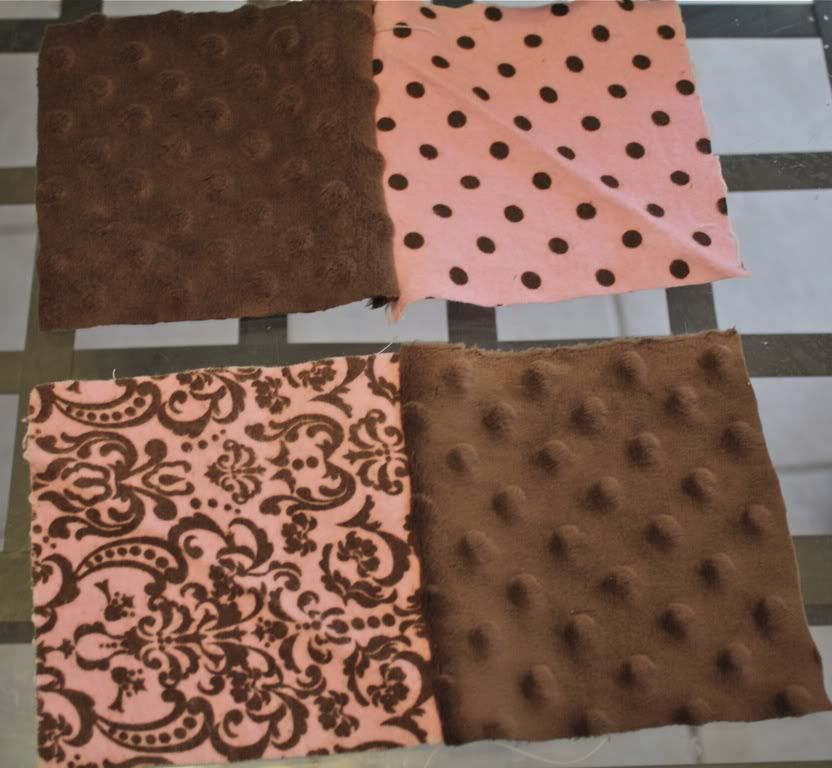
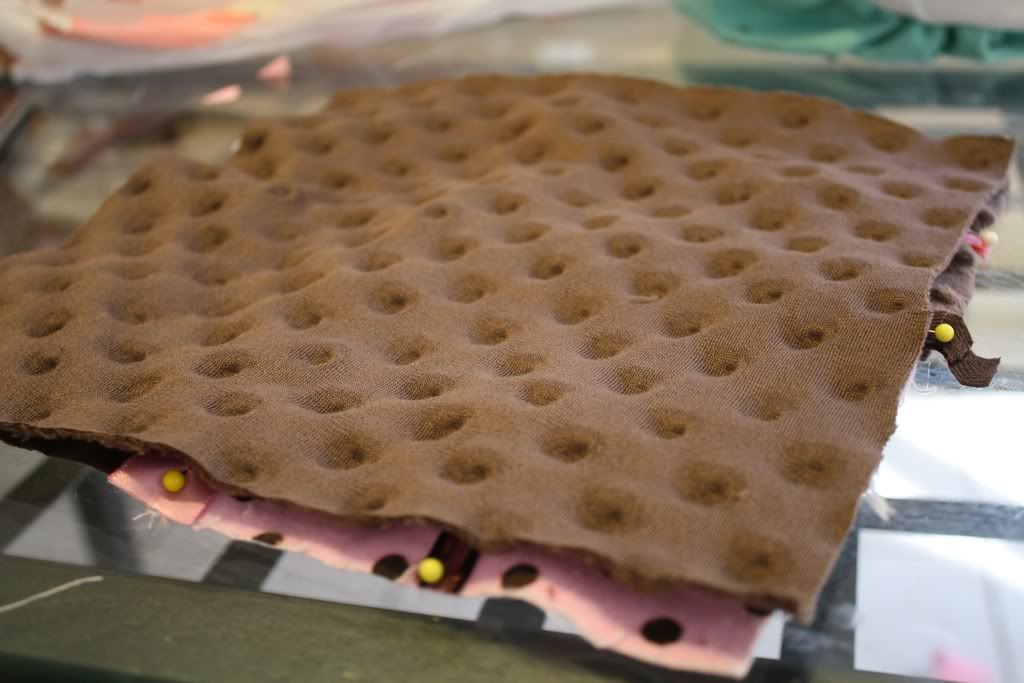
1. Cut out 4 squares of coordinating fabric, Sew 2 and 2 together.
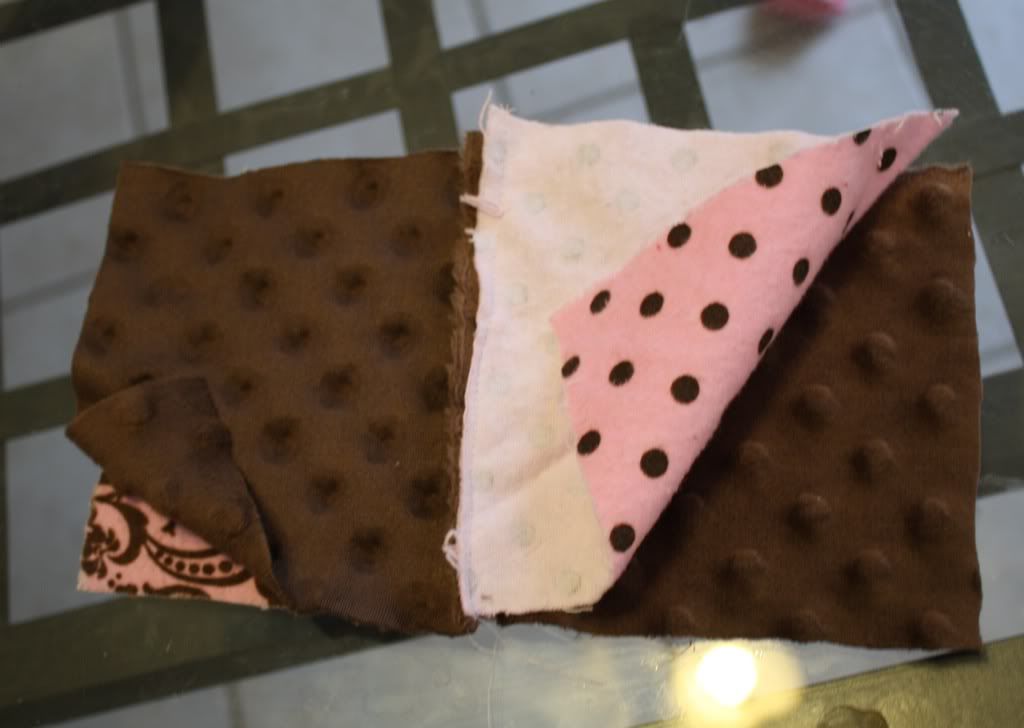
2.Sew the two strips together, right sides together.
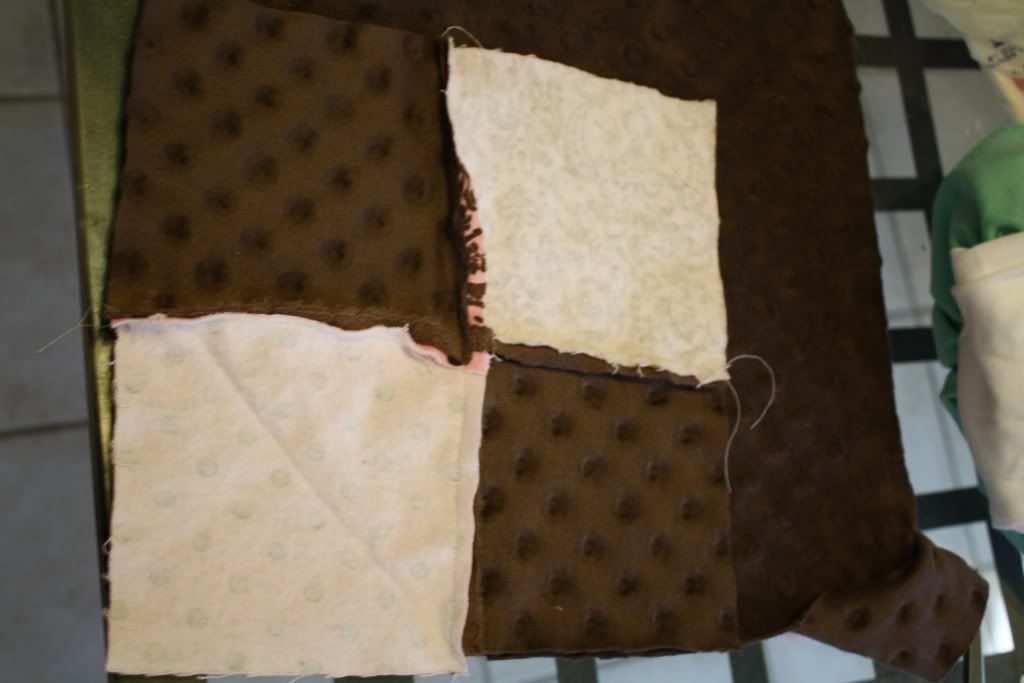
3. Cut out a backing fabric the same size as your new square.
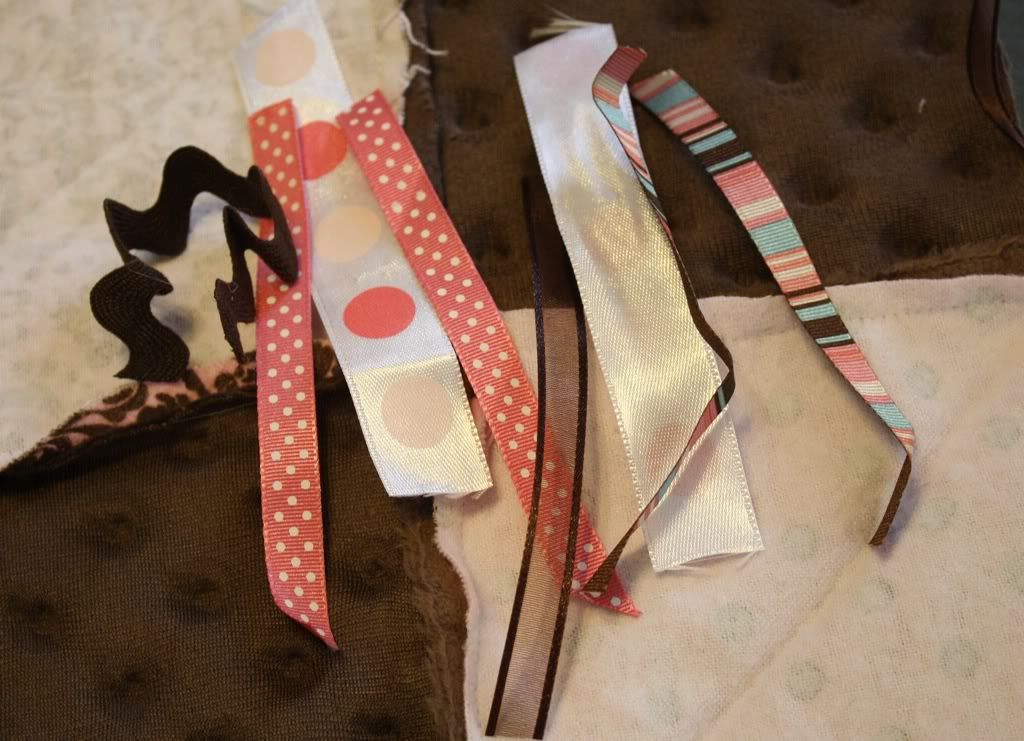
4. Gather some scraps of ribbon that look cute with you're fabric you've chosen
5.Pin your ribbon tags onto your blanket
6. Put your backing fabric, face down, then sew right sides together. Leave about a two inch opening, but make sure that all ribbons are sewn in :)
7. Turn you're blanket inside out and topstitch all the way around. And you're done! Perfect little tag blanket to keep those chubby little fingers interested :)
Jul 8, 2011
Fabric Buggy Shower Invites
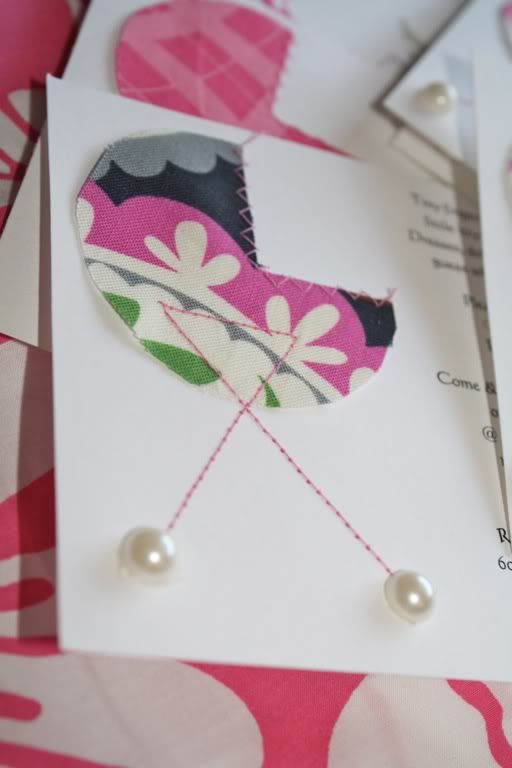
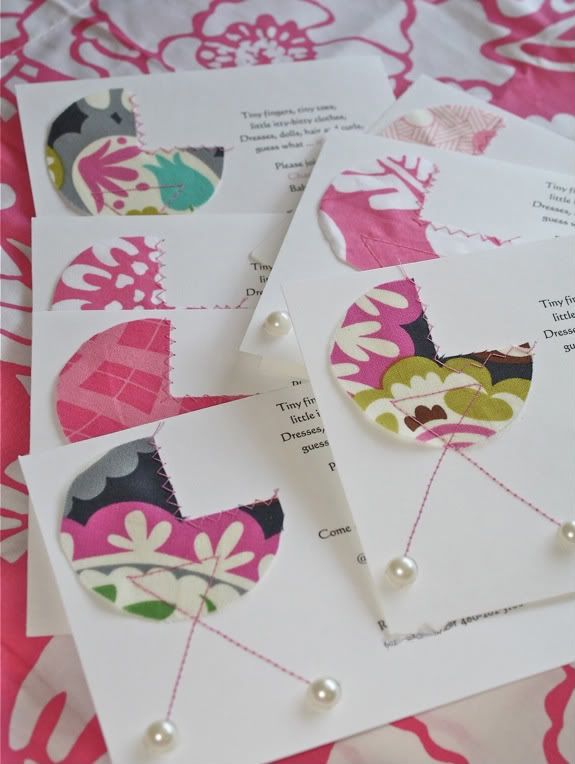
I saw these invitations and decided I'd make them when I got the chance...Well, I helped throw my friend's shower and thought it was the perfect time :) What's fun about these is I used up all of my fun girly scraps that I saved because I didn't want them to go to waste, but really thought I'd never find a use for... The other good thing about these is they are really easy & cheap! All you do is cut a circle, then cut a quarter out to make the buggie. Zig-zag stitch on, and make the "legs". Add buttons or pearls and viola! You're done :)
**Edited to Add** I've had a couple people email/ask what the saying is on the side of the invites so I figured I'd put it on just in case anyone else is interested?
"Tiny fingers, tiny toes,
litle itty-bitty clothes,
Dresses, dolls, hair & curls,
guess what...it's a girl!!"
Jul 2, 2011
Happy 4th of July!
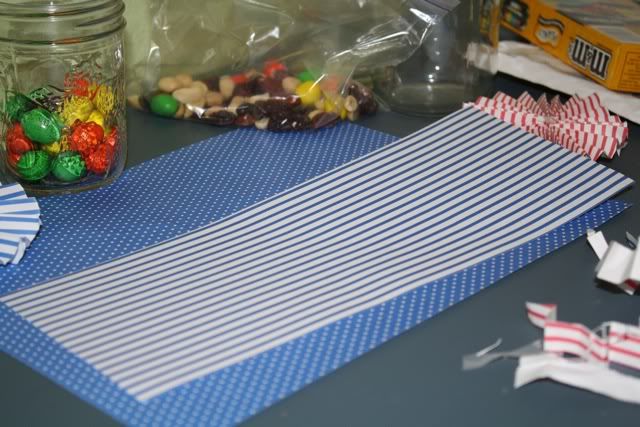
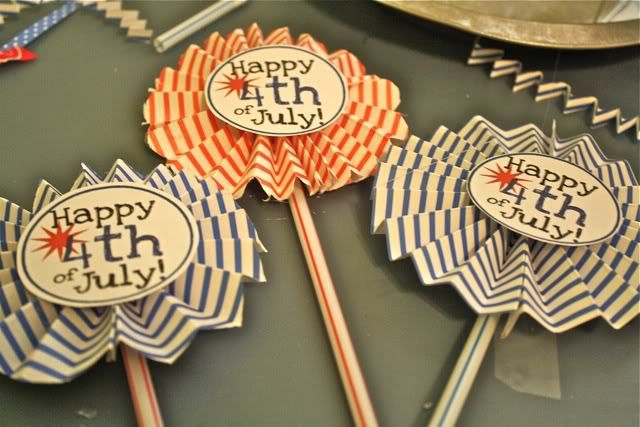
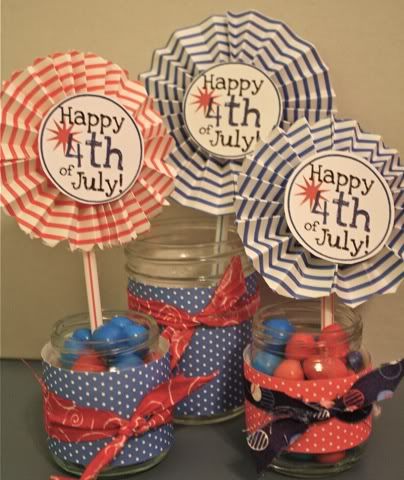
My cute friend Laura brought be the cutest 4th of July treat the other day and I decided to copy her and send it to some friends.I know I'm the worst procrastinator ever, but here are my little 4th of July treats. I made these for my visiting teachees (except for two are out of town and I didn't drop them by in time...) But these could be cute cupcake toppers or Thank you treats. I first started out with a 8 1/2 by 11 piece of paper and cut it in half.
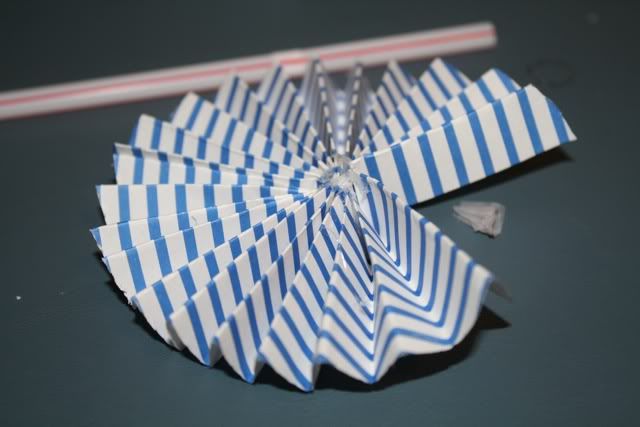
Then, fan fold it, just like we did in my Spring Banner Here. I did about 1/2 inch folds. But play around with it until you get something you like. Then fold your fan in half. Hot glue each end together to make your Pinwheel? (what are these even called??)
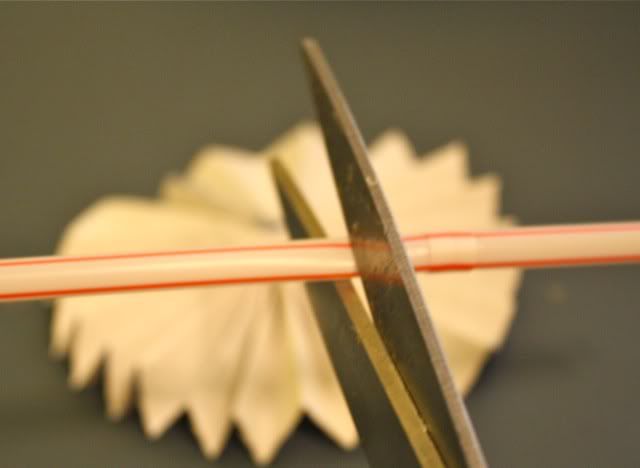
Next, Cut a straw, skewer, dowel or whatever you want to size like so:
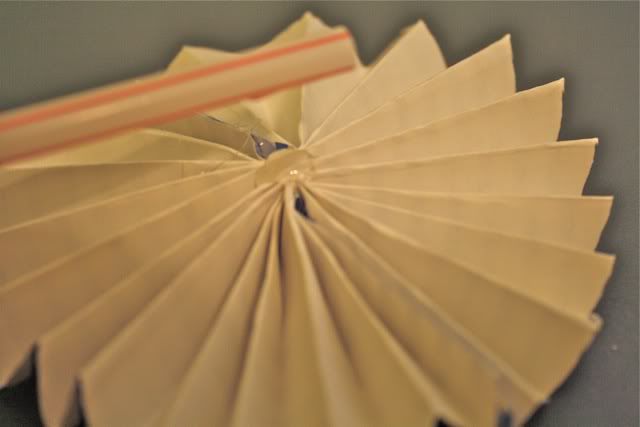
Put a big glob of hot glue on the back side to hold the fans together as well as to hold your straw on. (I don't want to talk about the fact that I'm using straws, because that's all I had and I didn't want to go to the store...)
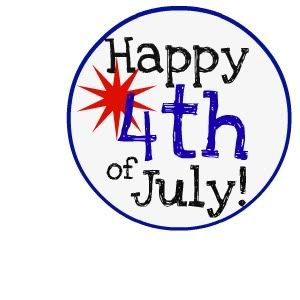
Now hot glue the "Happy 4th of July" Printable to the "pinwheel"
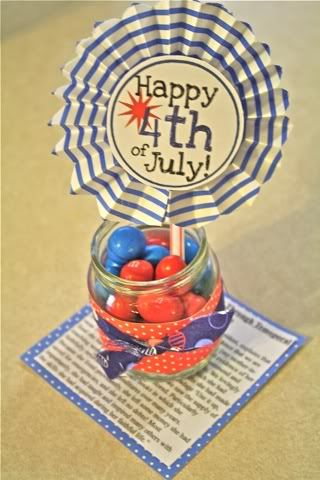
Fill small jars with red and blue candies, I chose peanut m&ms because they are delicious. AND I might have cheated and used other colors on the bottom because I covered them with scrapbook paper and fabric scraps. (Remember, I didn't want to go to the store?)
Attach a little note and deliver to a friend!
Now you have a fun little gift for 4th of July. You have about 2 days to actually use this, but there have got to be other procrastinators out there like me, right?? Please tell me your one of them! :) I included my Fourth of July Printable if anyone would like to use it! Please let me know if I did this wrong because this would be my first time trying this...I'm pretty sure you can right click and save it to your computer...Easy Peasy. I hope everyone has a great long weekend!!