Step 1
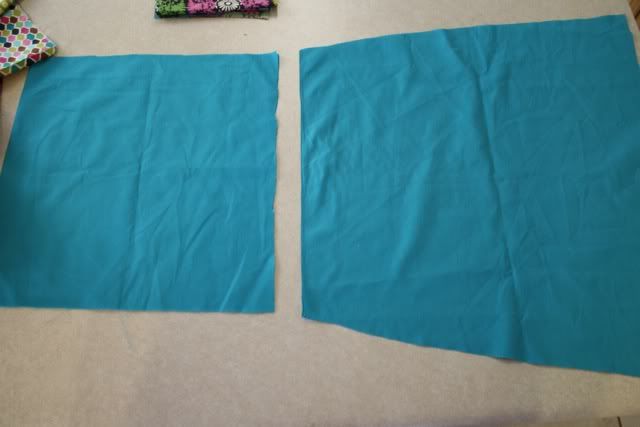
-Cut a square of fabric (I folded mine over so it would be thicker) So, fold your fabric and cut a 14 x 14 square with the fold at the top.
Step 2
-Cut a second piece that is at least 22 in. Fold in half and measure where 14 in hits and then cut a diagonal line straight up. (Like I said I made this up as I went so my lines & measurements are a little ridiculous. But, as I make my other one I'm not sure if I'd change anything.)
Step 3
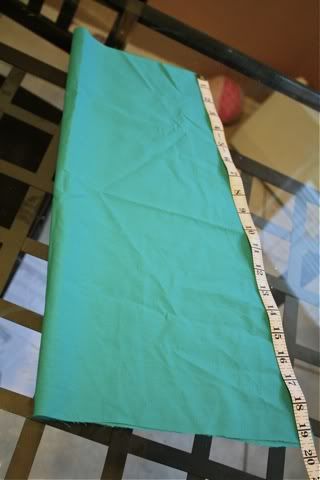
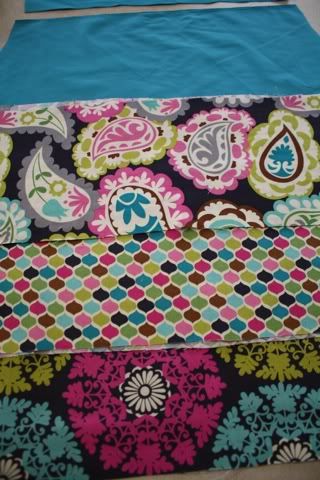
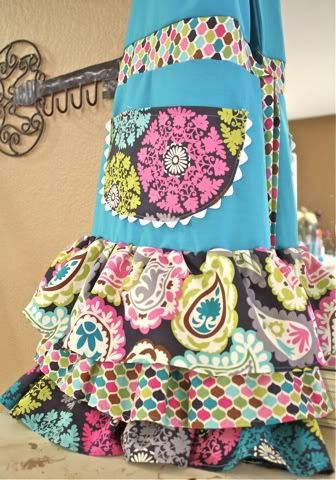
-Next, I worked on the ruffles. I decided I wanted 3 ruffles for this apron, so I laid out my fabrics and decided about how much of the bottom half I wanted used up and in what order I wanted them to go. My pre-ruffle strips were about 4.5in x 36 in.
-Take your strips and make a basic ruffle. (run a basting stitch on the highest length your machine will go, mine is a 6. Then pull on the strings and ruffle as much as you want to fit on the apron appropriately)
Step 4
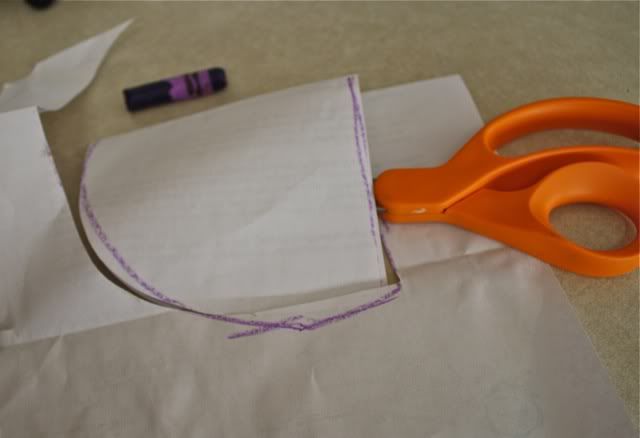
-Find a purple crayon and some scrap paper and free hand a pocket ha! just kidding but that's seriously what I did...(I'm sure if you'd like a more exact pocket you could probably google a template)
Step 5
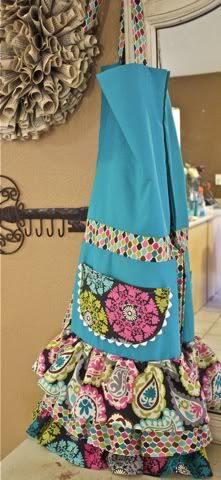
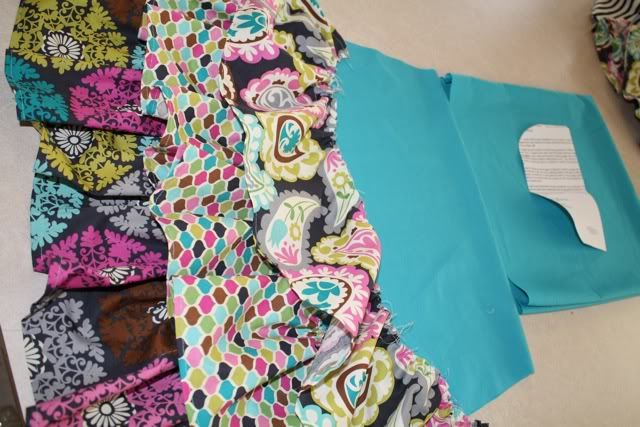
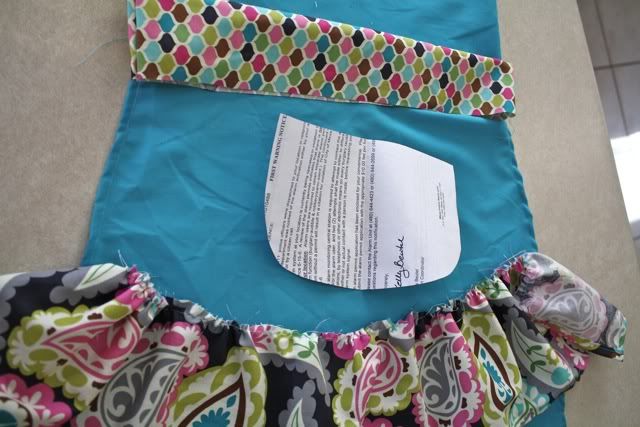
-Lay out your apron body, ruffles, and pocket and play around until you get something you like.
-Decide what order you want the ruffles, and the layout for your pocket. (After this pic I decided I wanted the pocket on the bottom half.)
Step 6
-For the waistband (for lack of a better term) Cut 2 pieces that are 14 in x 2.5 in (obviously you can change any of these measurements as long as you keep the basic square consistant)
-Sew the ends of the two pieces, right sides together making a tube.
-Now you're ready to assemble the body. Sew the top piece to the waistband, right sides together and then connect the bottom piece. You should now have one big apron body.
Step 7
-This is where I stopped taking my measurements...so sorry. But I know the ties and straps were 2.5 in x something? Ha. I just used up the longest portion of my fabric, but you can make them as long as your heart desires!
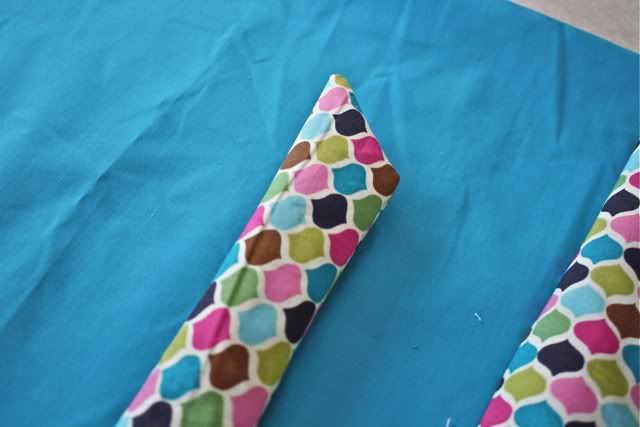
-Sew the ties & straps right sides together and end it with a diagonal strip to make it pointed. Turn it inside out and iron! (this was a good point to take everything I had been working on and give it a good ironing, which I usually skip because I'm lazy.)
-Sew the straps and Ties on the the top and sides of your apron.
Step 8
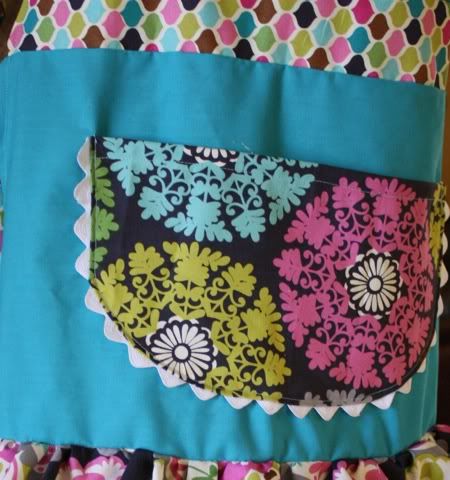
-Cut out your pocket, following your pattern and some trim if you'd like (I used white ric-racbut the possibilities are endless)
-Sew the ruffles and pocket where you want them (I actually pinned on this project and it helped a ton. Normally I don't pin because, once again, I'm lazy but I would recommend it here.)
*AND DONE!* I know this seems like a lot of steps but it was verrry easy. I sewed the straps in the middle of the top and I would definitely sew them at the ends next time but I love how it turned out!
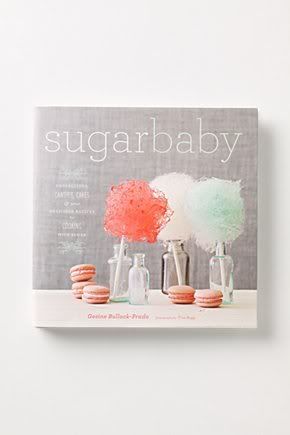
*Pair this with a super cute cookbook and you have the perfect gift!
(I didn't get this cookbook but I wish I did, it's adorable and has a fabulous name :) )
I hope this tutorial made sense, but if you have any questions please feel free to ask me! And if anyone attempts to make one let me know, I'd love to see!

This is very easily the cutest apron I've ever seen!! Great job! I LOVE the ruffles! Thanks for linking up at Sassy Sites for our ffa party! Have a wonderful weekend! xoxo!!
ReplyDelete-Marni
It looks great! I think that is the perfect "off to college" gift.
ReplyDeleteReally love this cute apron!
ReplyDeleteThis is so adorable!! Thank you for sharing the tutorial with us at Inspiration Friday. I wish I had the talent to make something like this. We're going to share your adorable apron with our Facebook friends on our page. :)
ReplyDeleteHeather
so cute and fun! Great patterns/colors.
ReplyDeleteAdorable!!!
ReplyDeleteFabulous! I have been eyeing that fabric! It is just gorgeous! And that cookbook looks awesome! ~April @ Wildflowers & Whimsy
ReplyDeleteA-stinking-dorable. I love this! I've been wanting to try to make a ruffled apron for my mother-in-law but have been too intimidated....your tutorial might just be the thing! I'm going to pin it for a day when I'm feeling brave! Thanks for sharing.
ReplyDeleteCome on over to visit my blog and see how to make healthy ice cream...no ice cream maker required! ;)
MJ @ MD School Mrs
this is so darling!!! i love aprons and this one is so fun!!! great job!!!!
ReplyDeletexoxo
http://jaysonandashley.blogspot.com/
So cute! I love the fabric colors you chose:) Great job!!
ReplyDeletewww.karismaheartsavannah.blogspot.com
That is a darling little apron, I love it and you did a great job on it. I particularly like the fabrics that you chose to use. Very nice!
ReplyDeleteHugs, Cindy
Love this! And I love your fabric choices! I'm your newest follower :)
ReplyDeleteTracy
polkadotwhimsy.blogspot.com
ADORABLE! I'd love for you to share it at my link party on Wednesday evening... SOOO cute!
ReplyDeleteSo cute!
ReplyDeleteLove your fabric choices!
xo
Andee
P.S. Visiting from Lil Luna
This is so great! I would love it if you would link up to my Tuesday Confessional link party going on now. It goes through the 1st. http://www.craftyconfessions.com/2011/06/tuesday-confessional-link-party.html I hope to see you soon!
ReplyDelete~Macy