Pages

Apr 29, 2011

DIY Blue Mason Jars

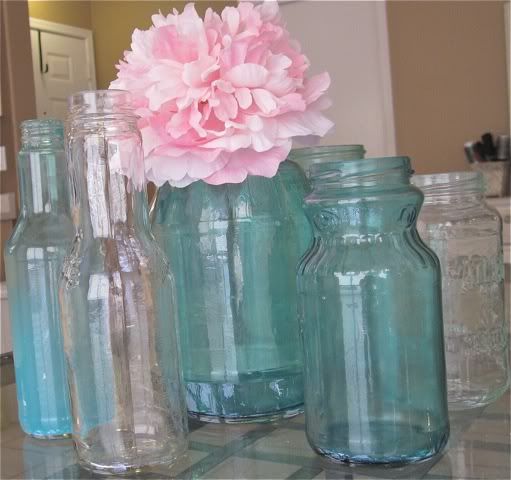
I love love love the look of all of the blue jars out there...especially antique mason jars. adorable. I had seen a lot of people that had painted the jars or swirled paint on the inside to get colored jars and I loved them but I wanted the look of the antique clear blue. So I googled and googled and found someone who had used Modge Podge and food coloring. Here is the one I liked the best! She has a very easy tutorial to follow...Anywho here are the ones I made for my daughter's first birthday and I have been using them for everything I can think of ever since!

Photobucket

Here's how to get the same look:
1. Gather as many glass jars you can find :) (ie: salsa, pasta sauce, syrup..you get the point!)
2. Get some modge podge & food coloring
3. Pour some modge podge, water & some drops of food coloring into your first jar (you might need to play around with the ratios a bit. I think I ended up liking 2 blue to 1 green the best. But, play around and see what suits you!)
4. Sloooowly turn the modge podge around the jar until it has covered the entire inside. Don't be afraid of what it looks like now because once it dries it will look fabulous...Just try not to get huge drip marks (I would know...)
5. Once your first jar is done, pour any excess colored modge podge into your next jar and cover the inside of that one. And so on and so forth. If you run out just add more modge podge and more food coloring and keep on going!
6. Once you're done with a jar tip it over on newspaper to dry while you work on the others. If you are impatient like me, you can pop your jars into the oven while on wark to dry them super quick!

These are great for centerpieces, shelves, and any type of decor! Just don't put water in, I'm not sure how that would take. I always use fake flowers in them, or branches look great too!

Apr 25, 2011

DIY Apothecary Jars

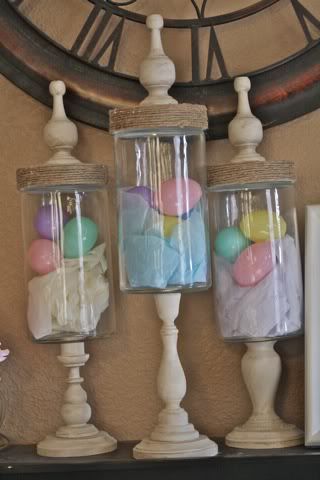
These bad boys are probably not new to anybody out there, but just in case they are I thought I'd put a link to the tutorial. I love these jars. They are super versatile and make decorating for holidays a breeze! I love the look of pinecones in them for fall, different colored ribbons around them for different holidays, and eggs for easter obviously :) To find out how you can make a set of your own, click here! I followed the tutorial almost exactly, but I obviously changed the color from black to Heirloom white. I finished it off by glazing and sanding the edges. I liked the black but the cream fits in more with my home decor...Hope everyone enjoyed their Easter Sunday!

Photobucket

Apr 20, 2011

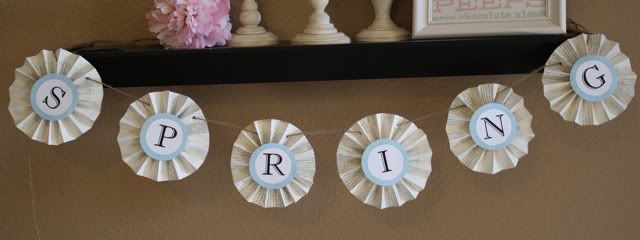
Book Page Spring Banner

I decided I needed a spring banner (ha I told you I love them!) I also decided it needed to be out of an old book. So, here is my first shot at doing a tutorial...I actually came up with something by myself...who would have thought?! So here it goes...

-Cut 2 inch strips of an old book (or scrapbook paper would work fine as well)
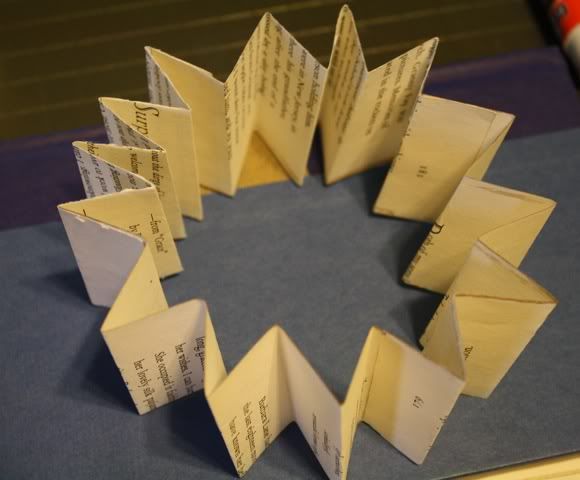
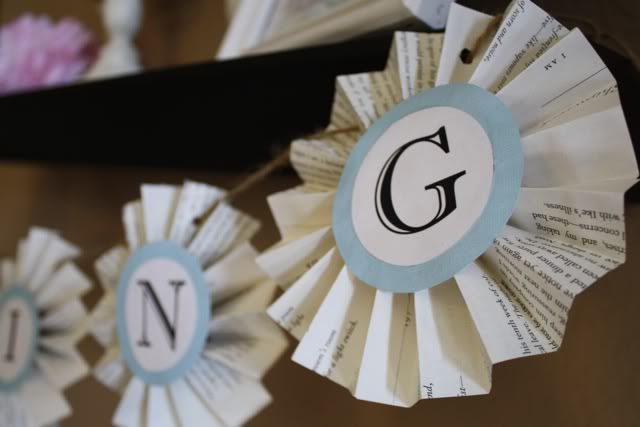
-I glued four 2-inch strips together, and then fan fold them accordian style (dig deep into those kindergarten projects you did back in the day)
-They should now look like this:
Photobucket

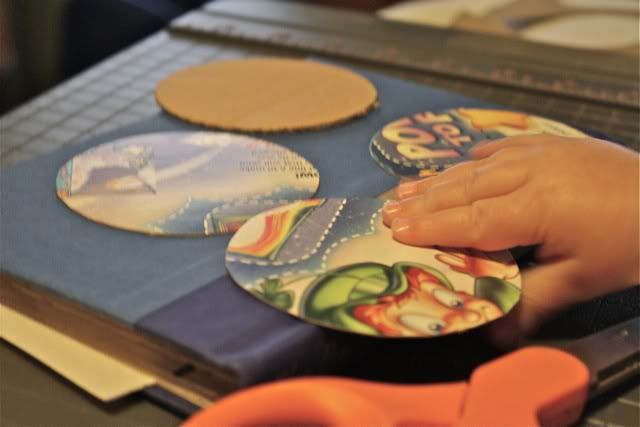
-Cut 2-inch circles out of a cereal box (if you're cheapo like me) or 2-inch circles out of chipboard
-I cut 6 for the letters SPRING (try to keep little chubbo fingers from stealing them :)):
Photobucket

-Cut 2-inch circles out of scrapbook paper in your color choice.
-Print your letters out on cardstock and cut them slightly smaller than the scrapbook letters.
-Glue the letter circle to the scrapbook circle.
-Then, hot glue your chipboard circle to the back of your fan (it's a little awkward to keep it flat but you can do, I promise)
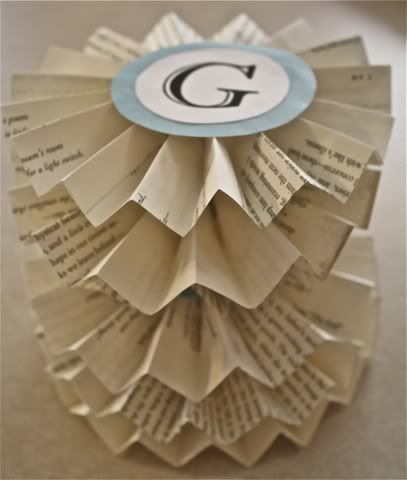
-Hot glue your letters to the front and you will have a stack of cute letters
Photobucket
-Now all you have to do is punch holes, and string with twine/ribbon/whatever you want and VIOLA! You have a new banner that is too cute for words.
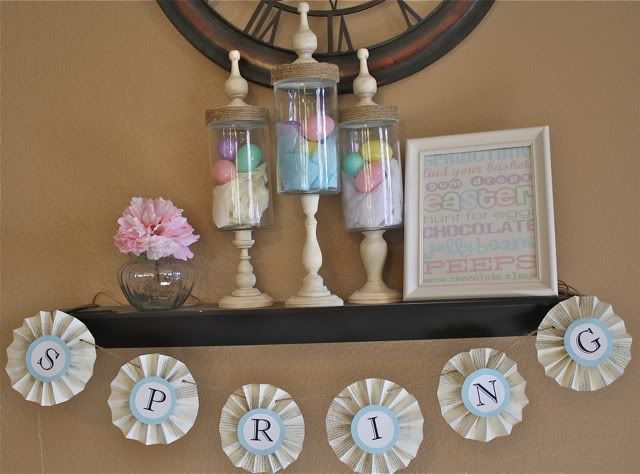
-Besides the fact that this thing is fabulous, it was also free because I had the paper, cereal box, and old book already (see book page wreath) woohoo! Here's the finished product:

Photobucket
Photobucket
Photobucket

*I feel like it finishes of my Easter "Mantle" perfectly, now we have exactly 4 more days to enjoy it!*

Apr 18, 2011

Cute Pin Cushions...


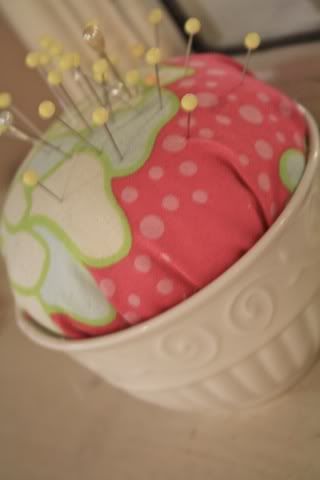
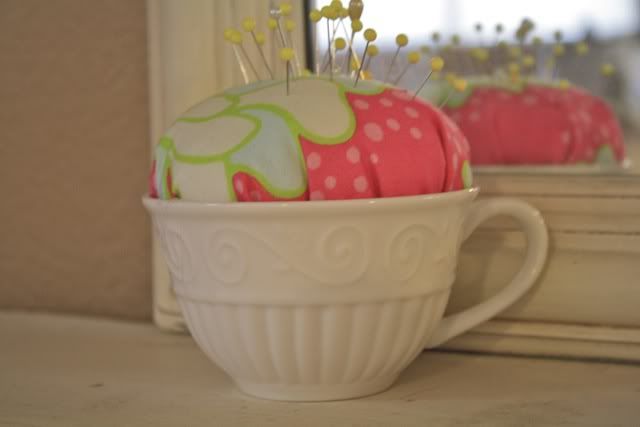
I have needed a pin cushion for awhile now and couldn't bring myself to go buy an ugly tomato one (no offense to all you out there sewing with a tomato pin cushion...Ha!) So I decided to search it out.. Here are some of the ones I liked and I decided to make a teacup pin cushion. It took all of about 10 minutes so I don't know why it took me so long to buck up and make one. I LOVE having it, so convenient!

Heather Bailey's fresh picked cushions are to die for cute

but I already had the goods to make this one from mmmcrafts so this was the one I chose and I'm so glad I did! This was so easy and would be a perfect gift for the sewer in your life (who wouldn't love a cutefied pin cushion?!)

PhotobucketPhotobucket

How to:
Cut a circle that is at least double the size of your teacup. Hand sew a stitch around the edge and pull (just like a yo-yo) Fill the circle with batting, and hot glue to your teacup. Yup, it's that easy. Maybe I should make a whole army of them, just in case :) Kidding. Kind of. Anyways, go ahead and make yourself a place of your own to put all of those pins you have lying around (Or update that tomato!)

Apr 13, 2011

Spring Wreath Take 2

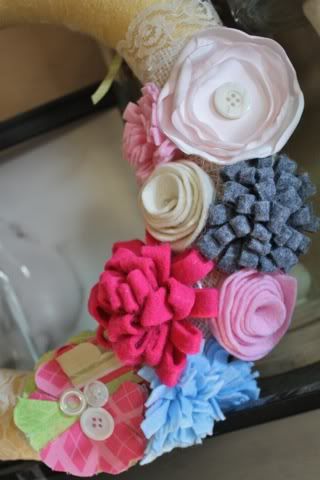
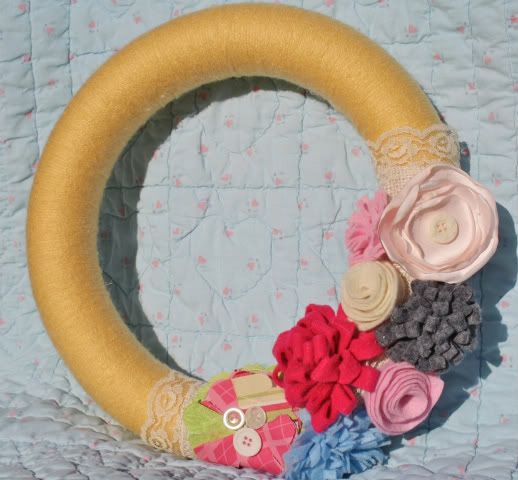
Am I the last one in the entire world that has tried these little silk flowers? I love them! I know I'm way behind but they have got to be the easiest cutest flowers, besides, I love burning the edges and the instant gratification of cuteness.. I made this wreath for a bunco prize and I can't decide if I love it or not? At least it's springy! I figured I'd post some pictures for some new color/flower inspiration...Hope you all are having a fabulous day! I'm hoping to get my new leggings posted up here soon...Just pray my children take a nap. Or sleep tonight. Or my husband takes my kids out for awhile...Yes, I know, I'm dreaming :)


Photobucket
Photobucket

Apr 7, 2011

Homemade Easter Basket...

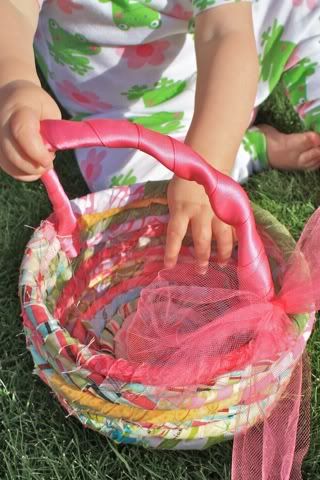
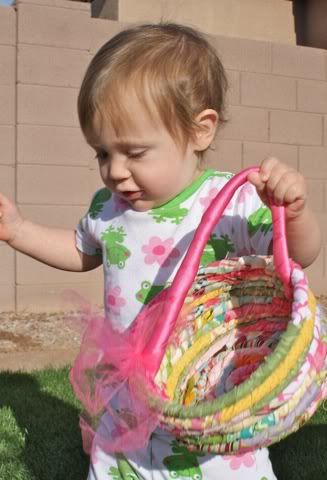
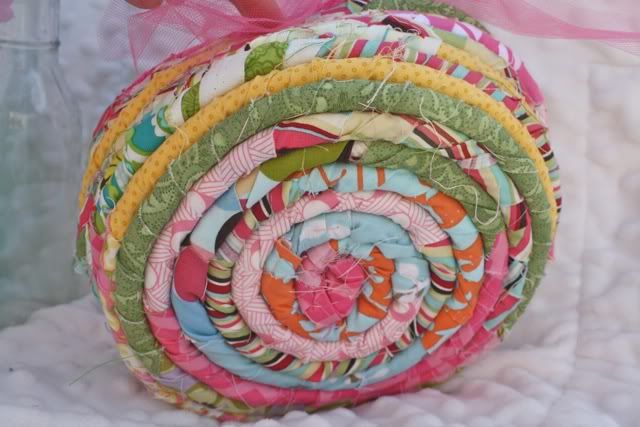
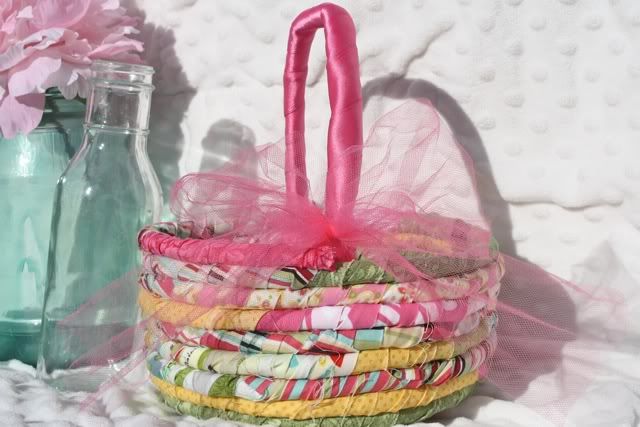
from the 90s?? Haha I made this last Sunday while watching General Conference and as I pulled it out to work on it, my mom says "Wow blast from the past! Those are definitely from the 90s..." What?!? Haha Then I remembered we totally had baskets like these (but not as cute, sorry mom ha!) back in the day when I was growing up. I guess every trend does a full circle and I don't even mind because I love how this little basket turned out! My daughters do too. Why do I ever pull out a finished project unless there are 2?? EVERYTHING must come in two's around here...just saying... Anyways I saw this project from V & CO a couple years ago and always had it in the back of my mind of what I wanted to do for my girl's easter baskets. This year it actually happened :) Well...only one...but I better make another quick to save my sanity. The only thing I changed from her tutorial was for the handle. I doubled the piping and wrapped both with ribbon. Then, tied a tulle bow to finish it off. I still might add a monogram so we don't have fighting over the baskets later. This was super easy and I used all scraps woohoo! The only thing I bought was 12 yards of cording, which totaled to a whopping $3. Not too shabby. It was a little slow-going but I love hand stitching while watching my favorite shows. We always have to multi-task around here. Here is the finished product: I think I have a happy customer. And yes, she is still in her pajamas, because we don't get dressed unless we leave the house...

Photobucket

Photobucket
Photobucket
Photobucket

PS I'm certainly not a photography...does anyone have any good tips for me??